Changes to your client details need to be actioned from within your customer profile area and cannot be made directly by support staff to ensure account security and privacy.
In order to update account information, you will first need to log into your customer profile area at https://my.wphosting.com.au
If you have forgotten your password, you can reset it here – https://my.wphosting.com.au/pwreset.php
Updating primary account information
In order to update your account information, please complete the following steps.
- From the main menu on your client area profile, click on “Account” to expand the menu, and then “My Details”
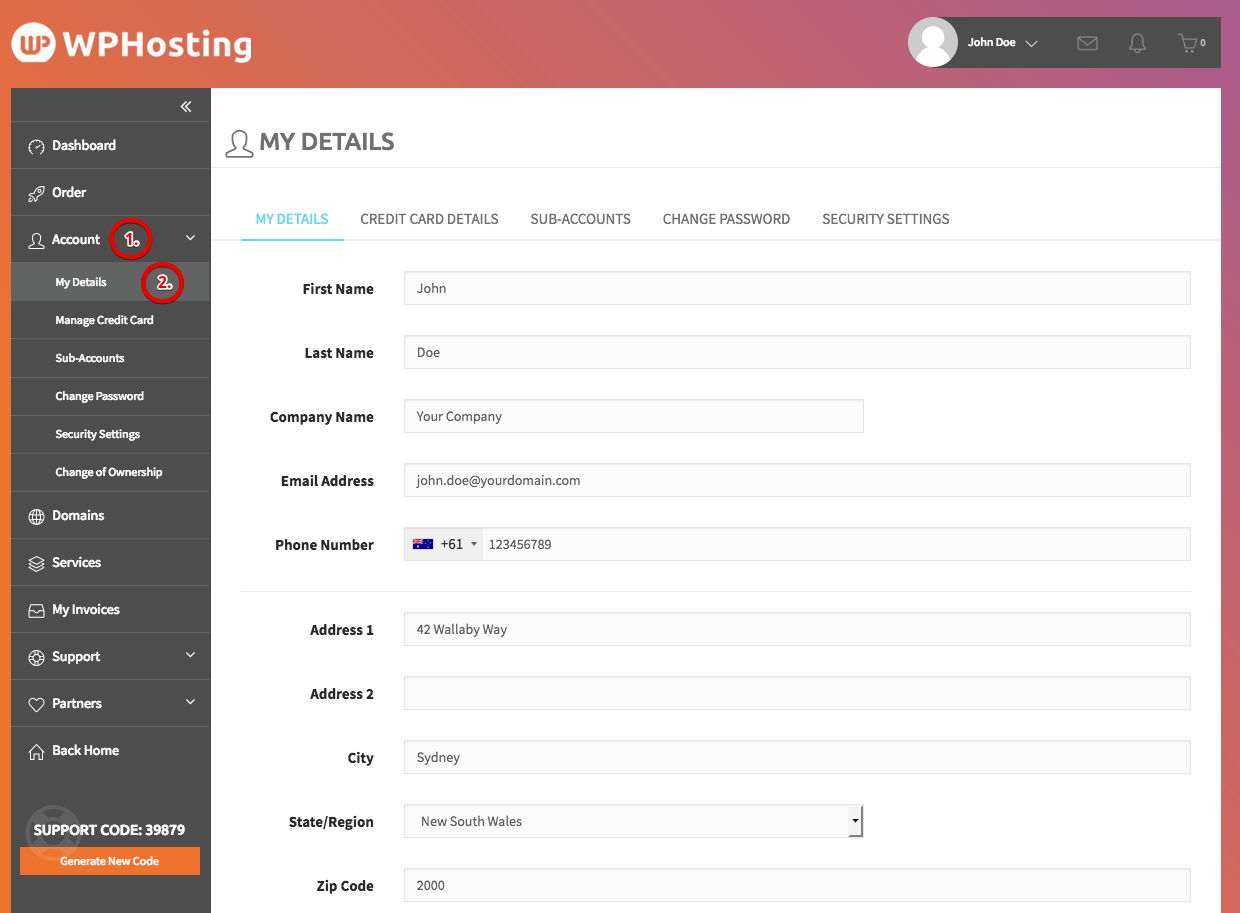
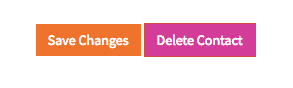
- Update any required fields on this page, and then click on “Save Changes” at the bottom of the page.

Adding or updating additional contacts/sub-accounts.
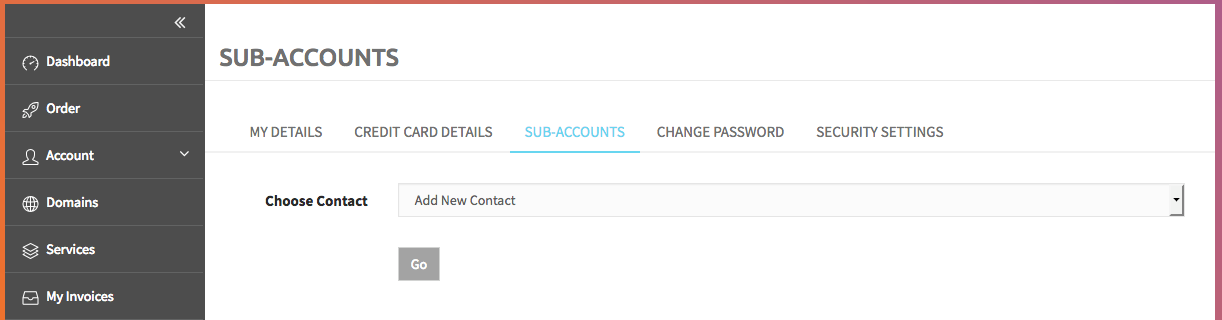
- From the main menu on your client area profile, click on “Account” to expand the menu, and then “Sub-Accounts”.
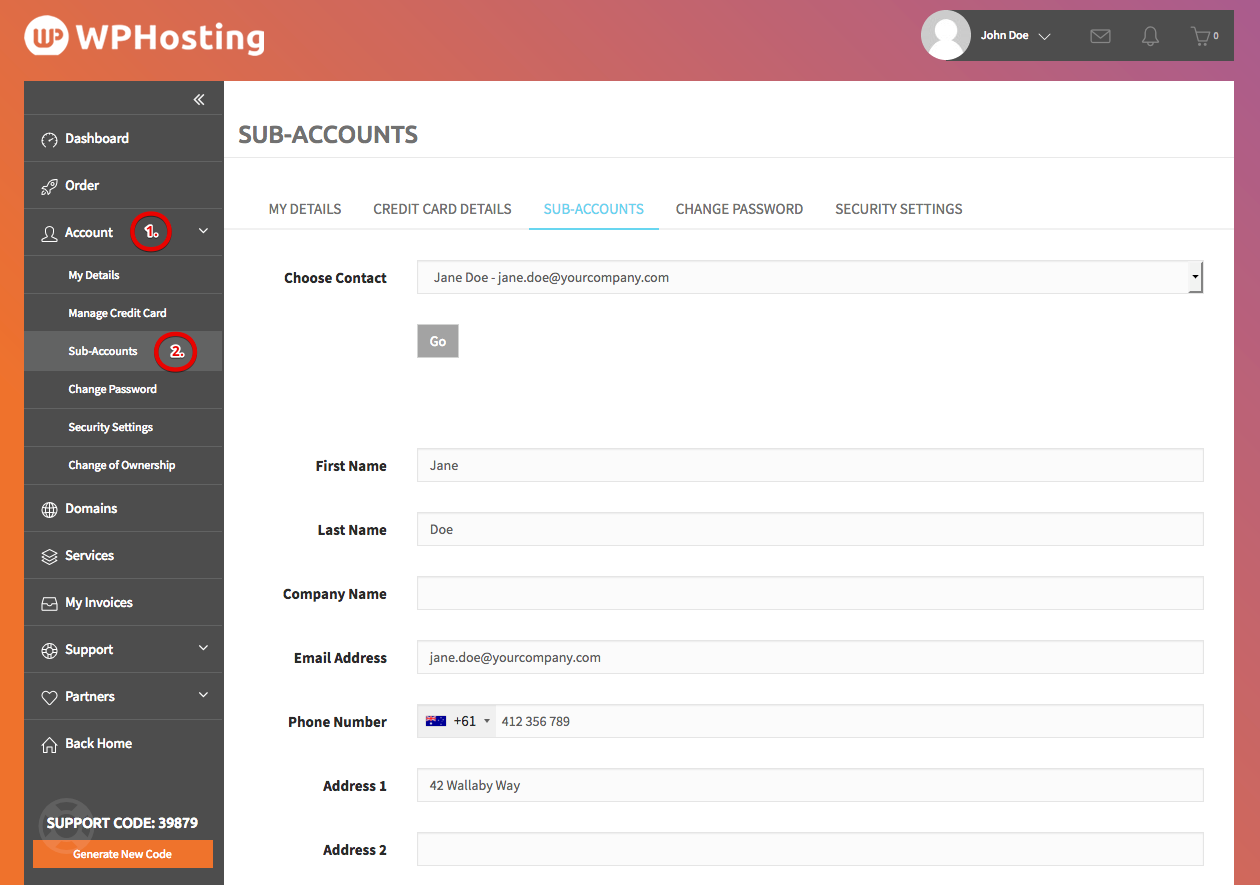
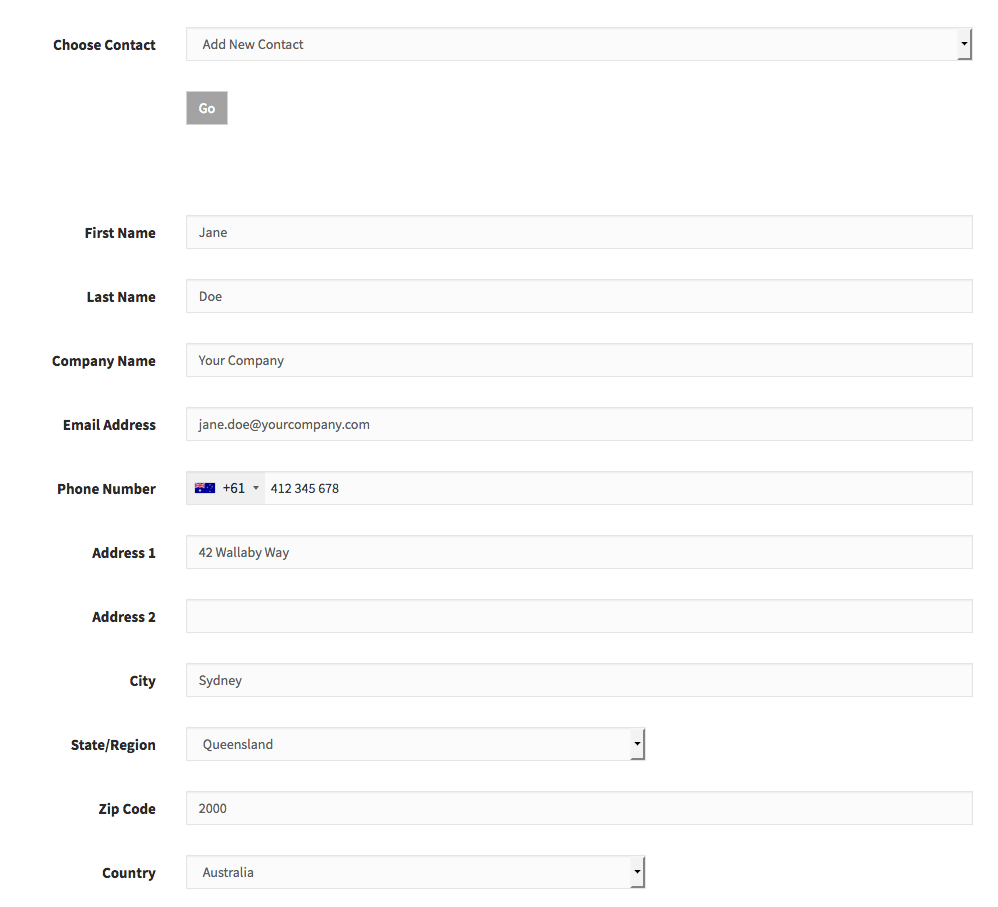
- To add a new contact, select “Add New Contact” within the drop-down menu labelled “Choose Contact”, or to modify/delete a contact select the required contact from the list.
- Enter or update the contact details into the provided fields.
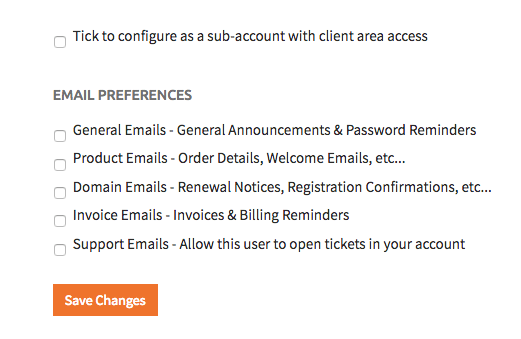
- Select required permissions & communications settings for the contact (client area login access, invoices, support etc) and then click “Save Changes”
Deleting contacts/sub-accounts.
- To delete an additional contact/sub-account, first ensure that the contact/sub-account you wish to delete has been selected from the drop down menu.

- Scroll to the bottom of the page and click “Delete Contact”.