This topic covers processes relating to a cPanel service.
You will need to be logged into the cPanel account to follow the steps.
If you’re not sure how to access your cPanel service — please, follow this guide before continuing: How do I Login to cPanel?
What is a CSR?
A certificate signing request (CSR) is a crucial component in the creation and authentication of an SSL certificate and every retail SSL certificate is created using one.
Depending on the method or utility you use to purchase an SSL certificate, you might not notice that the system automatically creates a CSR. This creation occurs in the background. Nevertheless, you must always create a CSR because the system uses it to generate the signed certificate.
Every SSL certificate includes an associated private key (PK). When you create the CSR, the system automatically generates this key. This means it is vitally important to remember where you created the CSR so that you can later retrieve the private key when you want to use the signed certificate if you choose not to record the private key yourself separately.
How do I create a CSR?
The easiest method to create a CSR is using the SSL/TLS module within cPanel, as this handles the creation and storage of all certificate components for you. You can easily return back to this module to view the private key and/or CSR at a later date if you need to.
To create a CSR with WP hosting using a WordPress Hosting product, follow these steps:
1. Determine what domain name you want the CSR to be assigned to (e.g. example.com)
2. Log into your WP Hosting Client Area, and navigate to the cPanel for the service that corresponds to the domain name you’ve already determined in step 1.
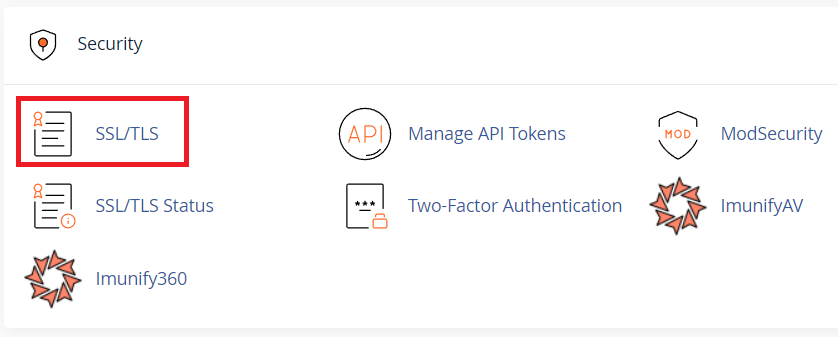
3. Then, Navigate to the ‘SSL/TLS’ module, which you will find in the Security group.
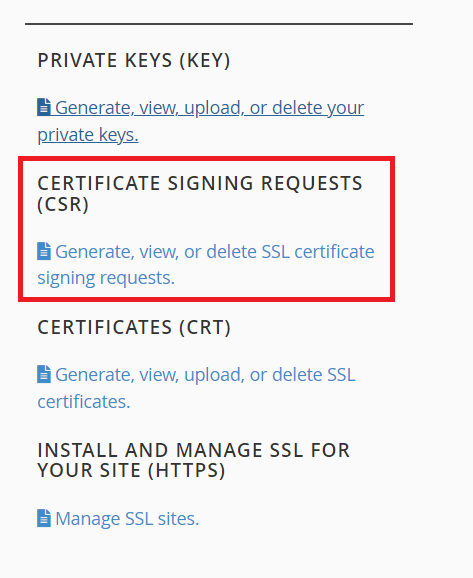
4. Find the ‘Certificate Signing Requests (CSR)’ heading then click Generate, view, or delete SSL certificate signing requests.
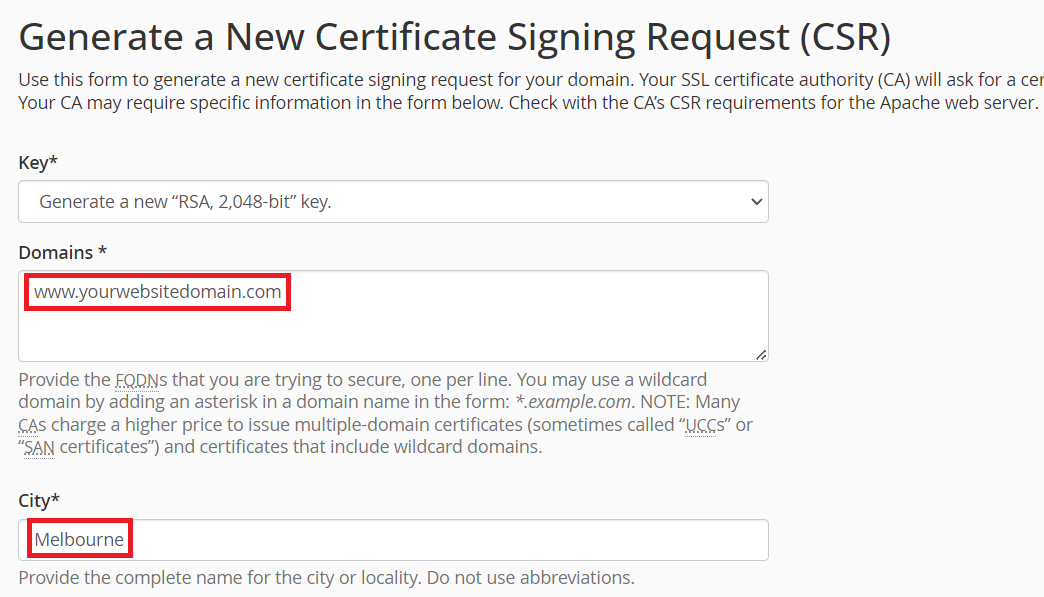
5. After the page loads, fill out the form to create a new CSR using your preferred contact details. Remember, complete only the items marked with an asterisk.
IMPORTANT NOTE: The SSL certificate will be bound to the domain name that you enter in this field. The ‘www.’ sub-domain is the only exception. A standard SSL covers both the root domain and the ‘www.’ subdomain (for example, example.com and www.example.com).
6. After you finish, you’ll receive a confirmation message that your CSR is complete. The CSR then appears on the screen for you to use with your certificate provider.
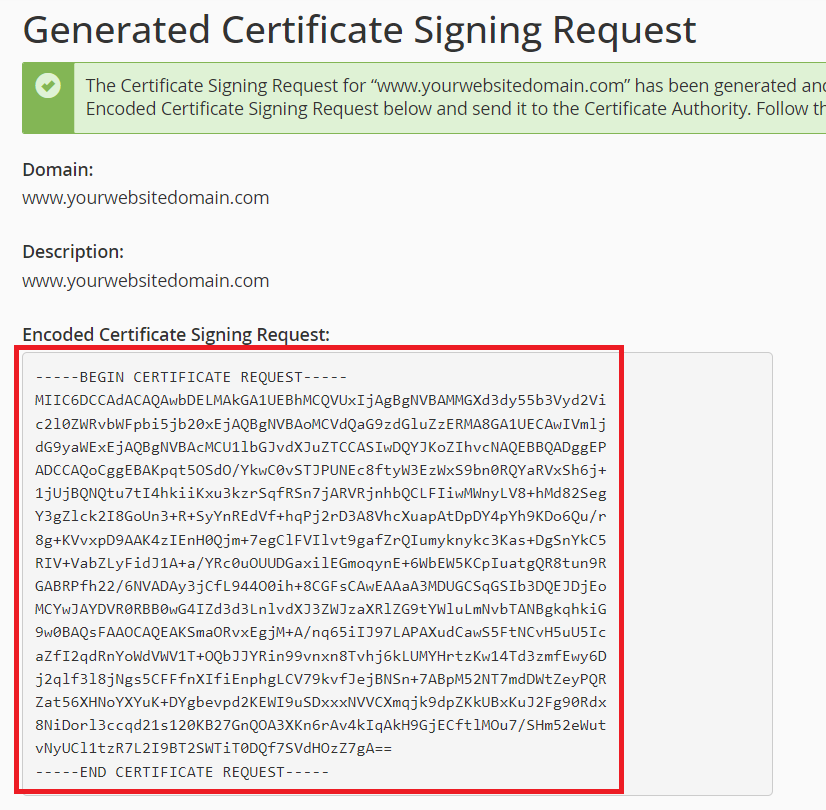
Once that step is complete, scroll to the bottom of the page. Then, select ‘Return to SSL Manager‘ to finalise the CSR creation.
The Private Key linked to your newly created CSR is now available for viewing. You can also download it from the Private Keys (KEY) option.