Learn how to stop our servers from accepting mail for your domain. Then, redirect your email traffic to your chosen provider. Follow these steps to reconfigure your domain’s email routing. This will ensure that your messages are delivered exactly where you want them.
This topic covers processes relating to a cPanel service.
You will need to be logged into the cPanel account to follow the steps.
If you’re not sure how to access your cPanel service — please, follow this guide before continuing: How do I Login to cPanel?
If your email is hosted externally (e.g. Google Workspace/Microsoft365 etc), you may need to configure the Email Routing settings within your hosting/cPanel account.
When your hosting service is provisioned, it is configured, by default, to handle email for your domain. This setup works fine for most new clients, however, some clients might host their mail externally.
This setting may also affect resetting your WordPress password – by default, the server will attempt to send the password reset email to your domain internally, rather than sending it to your external mail server.
If you do not want our servers to accept email for your domain, or if you want to use remote/external email servers (such as Google/Microsoft etc), please complete the following steps.
To start
1. Login to cPanel.
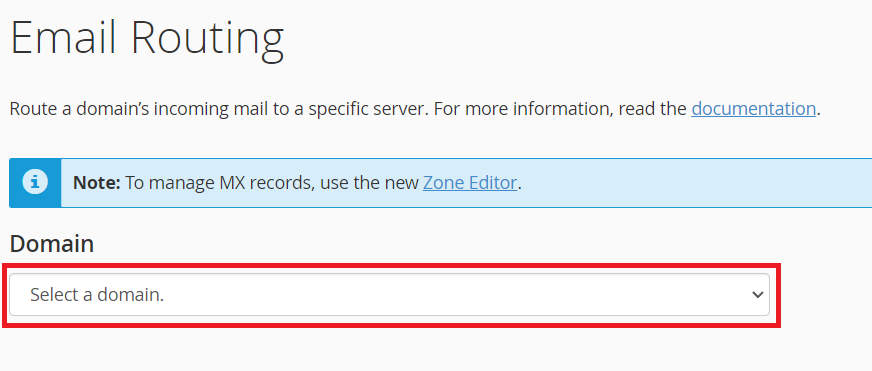
2. Look for the “Email” section, and click ‘Email Routing‘ tool.

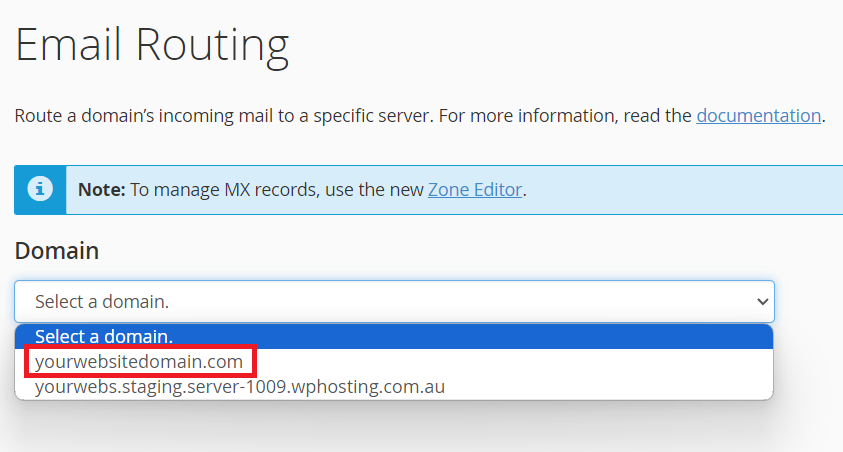
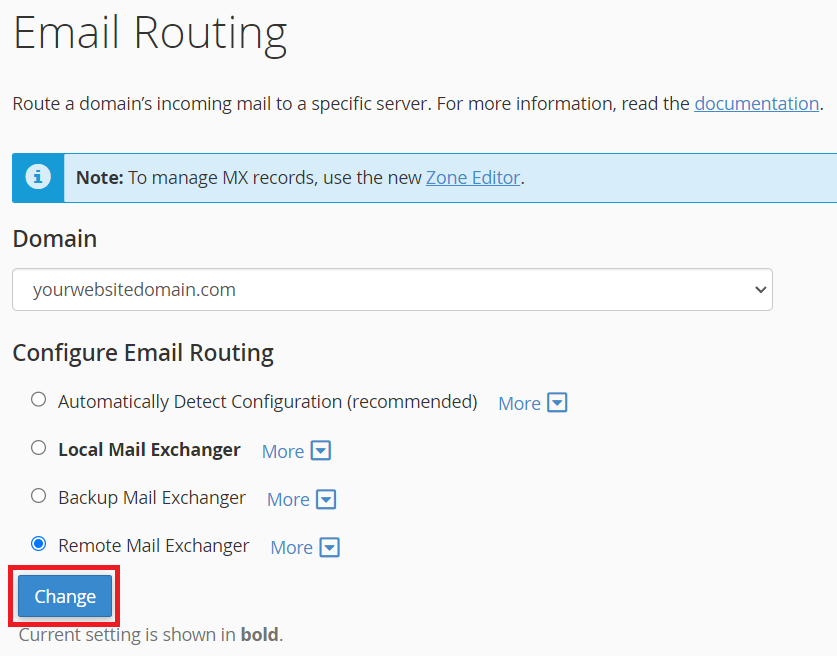
3. Click the ‘Select Domain‘ drop-down to select a domain.
4. Select the domain you want to change the ‘Email Routing’ Settings.
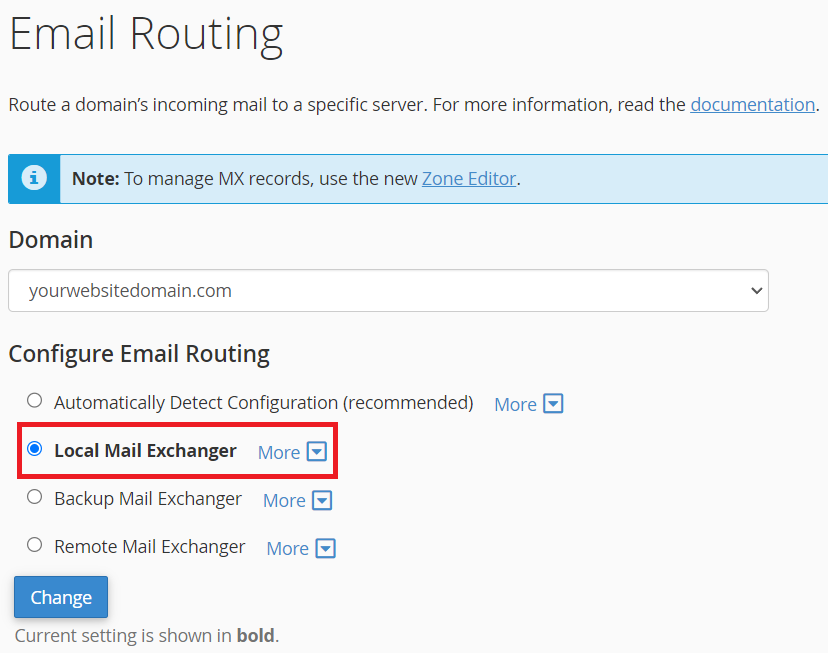
Local email routing
5. By default, the system selects ‘Local Mail Exchanger‘. This setting means your cPanel hosting account handles your email.
Remote email routing
6. Next, change the setting to ‘”‘Remote Mail Exchanger‘. After updating it, you can start using your domain for external email services, including popular options like Google Workspace and Outlook Office 365.
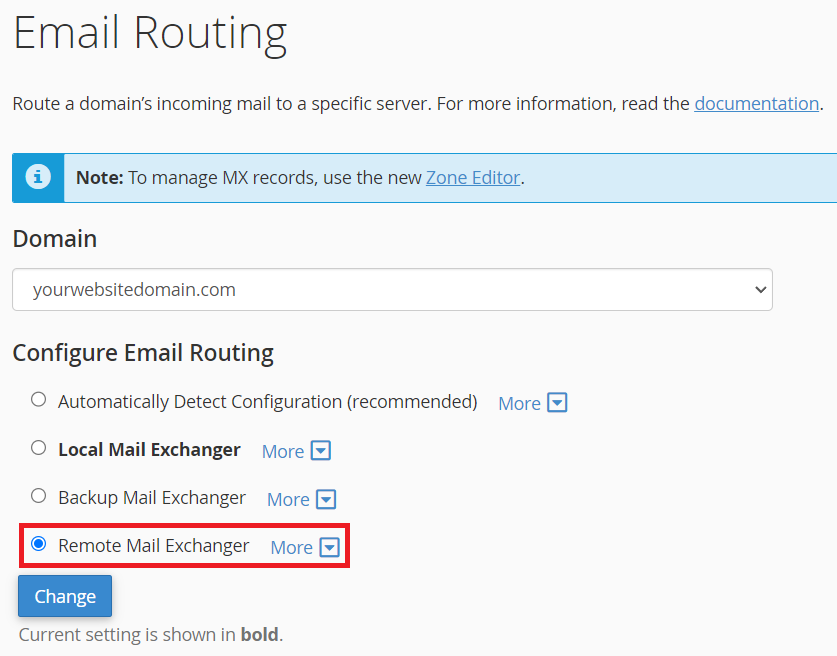
7. Then, click the ‘Change‘ button. The system updates your new ‘Email Routing’ settings immediately.
This setting only modifies the mail configuration on our server. It ensures that the server does not attempt to send mail internally but instead forwards it to your current mail server (Remote or External Email Server).
You can always revert these changes if you prefer our servers to handle your mail.