If you’re looking to improve your WordPress site’s speed without paying for premium tools or dealing with advanced configurations, setting up a caching plugin is a smart starting point. This guide shows you how to setup WP Super Cache step by step, using the latest version of the plugin.
Why use WP Super Cache?
During peak traffic times or when your pages take longer to load, caching helps reduce the strain on your server. WP Super Cache generates static HTML versions of your pages and delivers those to visitors, instead of loading content dynamically each time. This approach significantly reduces page load times
Key benefits of WP Super Cache:
- Boosts site performance during high traffic periods
- Delivers faster load times for users and search engines
- Reduces server load, helping your hosting environment run more efficiently
- Improves overall user experience with consistent, quicker page delivery
How to install WP Super Cache
To begin the setup, you’ll need to install the plugin through your WordPress dashboard. Here’s how:
1. Log in to your WordPress admin area.

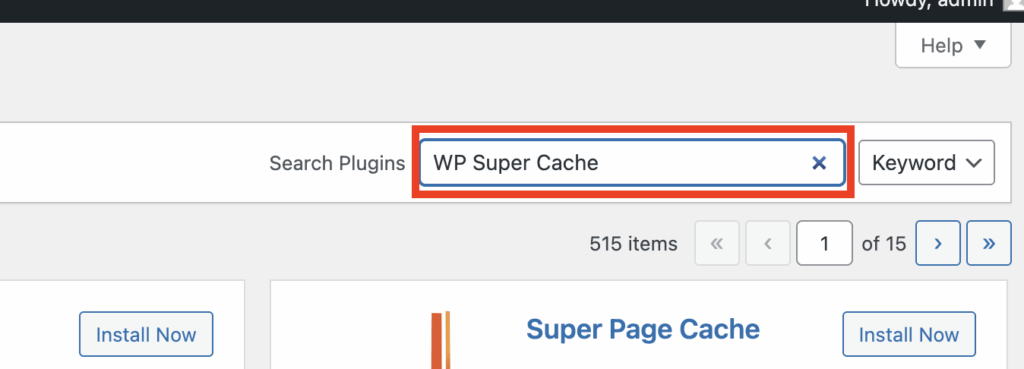
2. In the search field at the top-right corner, type “WP Super Cache” and press ‘Enter‘.
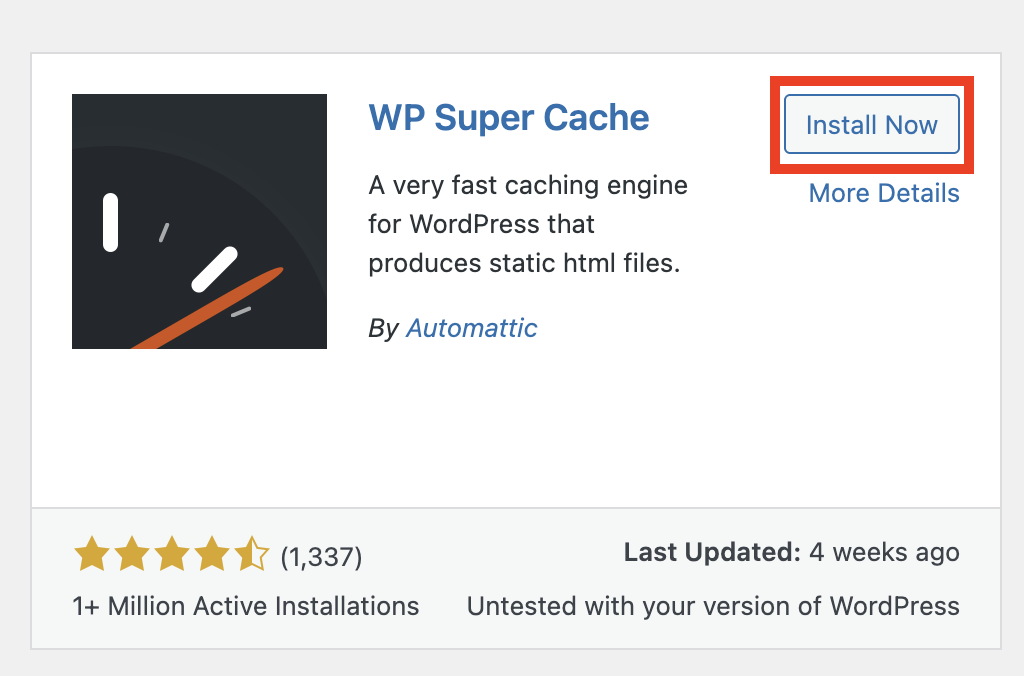
3. Locate the WP Super Cache plugin in the results and click ‘Install Now‘.
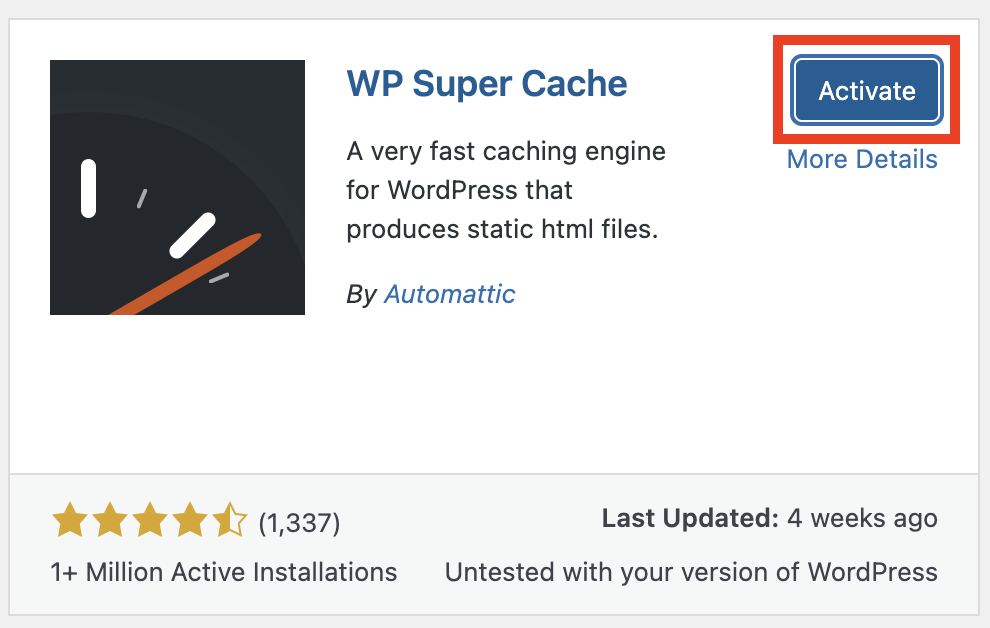
4. After the installation completes, click ‘Activate‘ to enable the plugin on your site.
Enable caching
Once the plugin is activated, you’ll need to turn on caching to start improving your site’s performance.
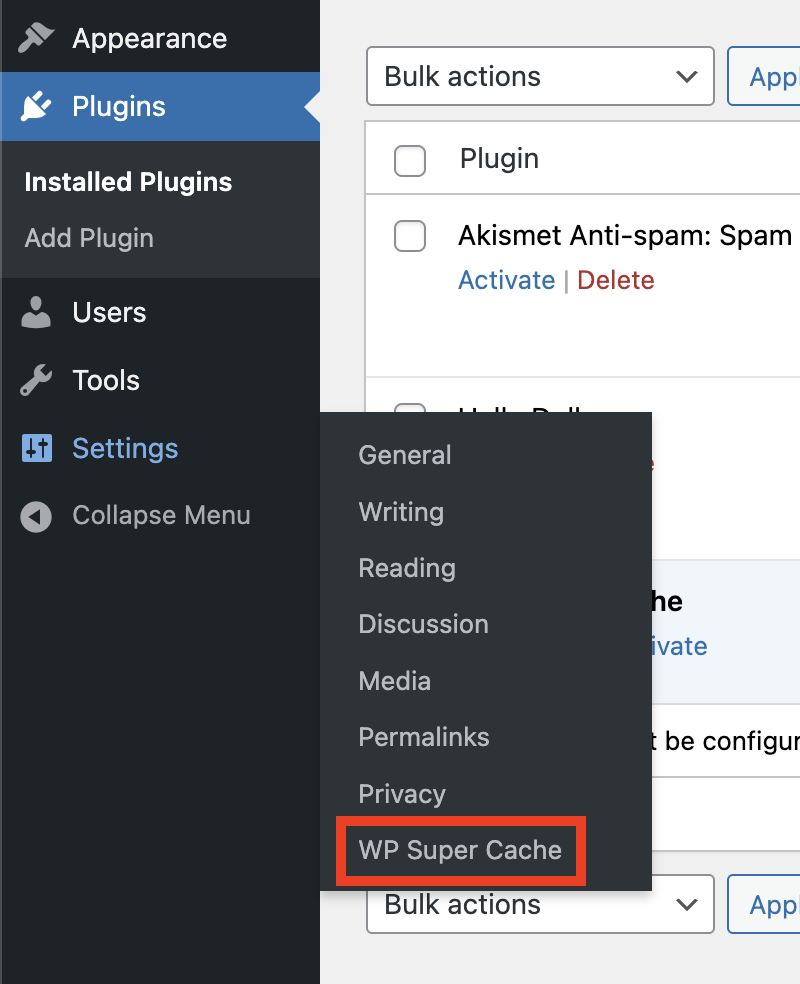
1. From your WordPress dashboard, go to Settings > WP Super Cache.
2. Under the Easy tab, select Caching On.
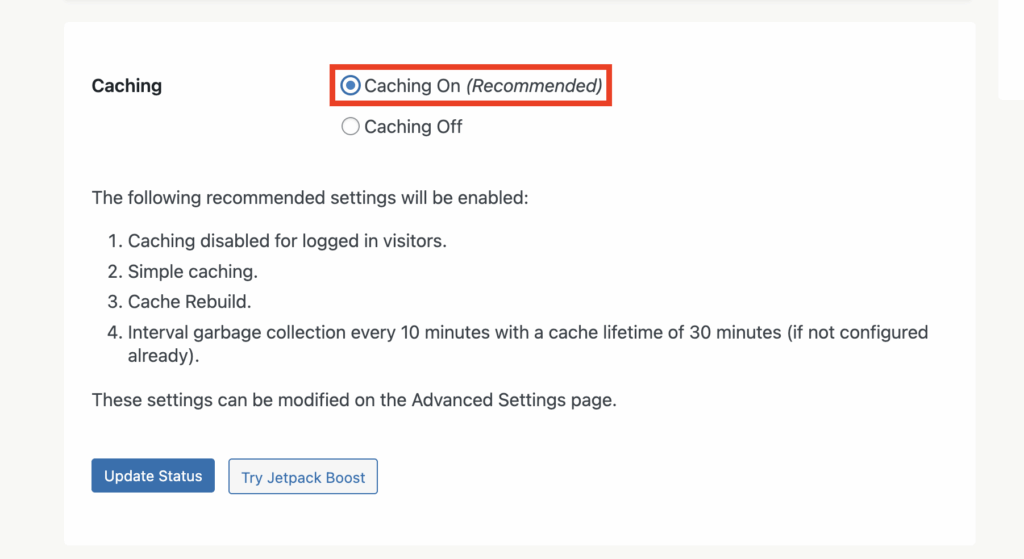
3. Click Update Status to save the change.
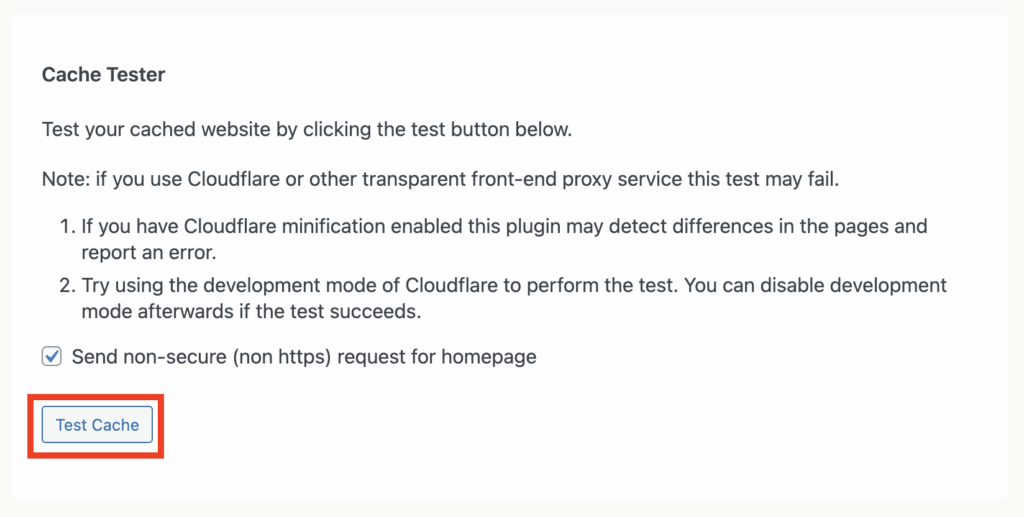
4. After that, click Test Cache to verify that caching is working correctly.
Configure advanced settings
For more control and better optimisation, you can adjust the advanced settings.
1. Go to the ‘Advanced‘ tab within the WP Super Cache settings.

2. Tick the following checkboxes:
- ‘Enable Caching‘
- ‘Simple‘ delivery method
- ‘Disable caching for logged-in users‘
- ‘Cache Rebuild‘
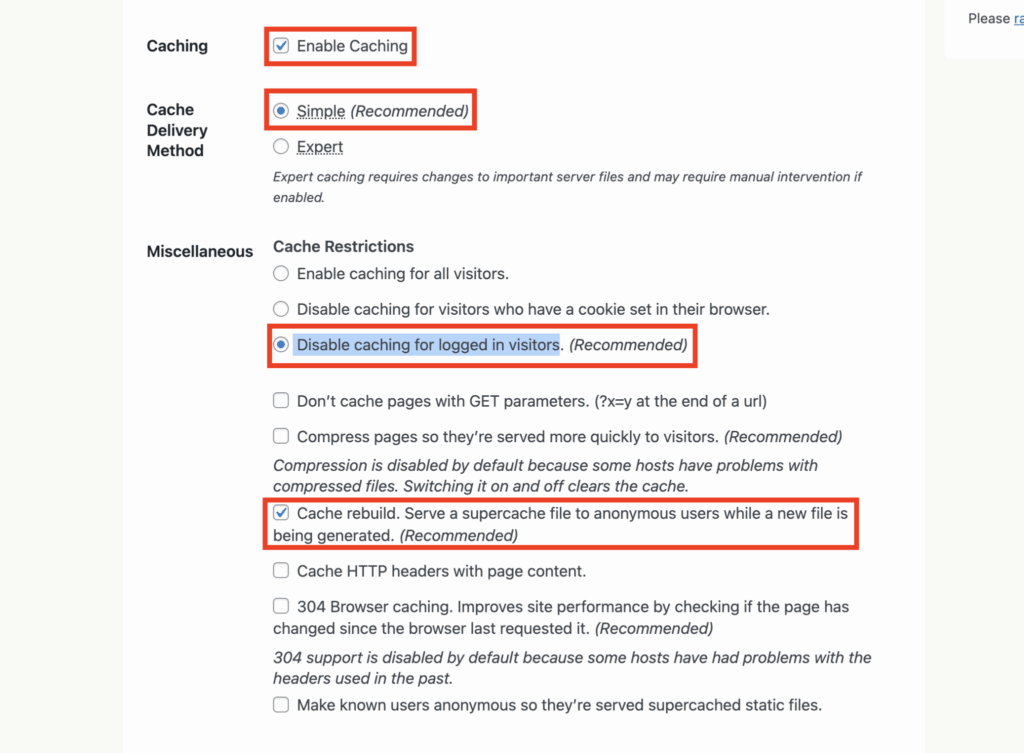
3. Once you’ve made these selections, click ‘Update Status‘ to apply your changes.
Clear the cache after updates
After updating your site’s content, plugins, or theme, it’s best to clear the cache. This ensures your visitors see the most up-to-date version of your site.
1. Head back to Settings > WP Super Cache.
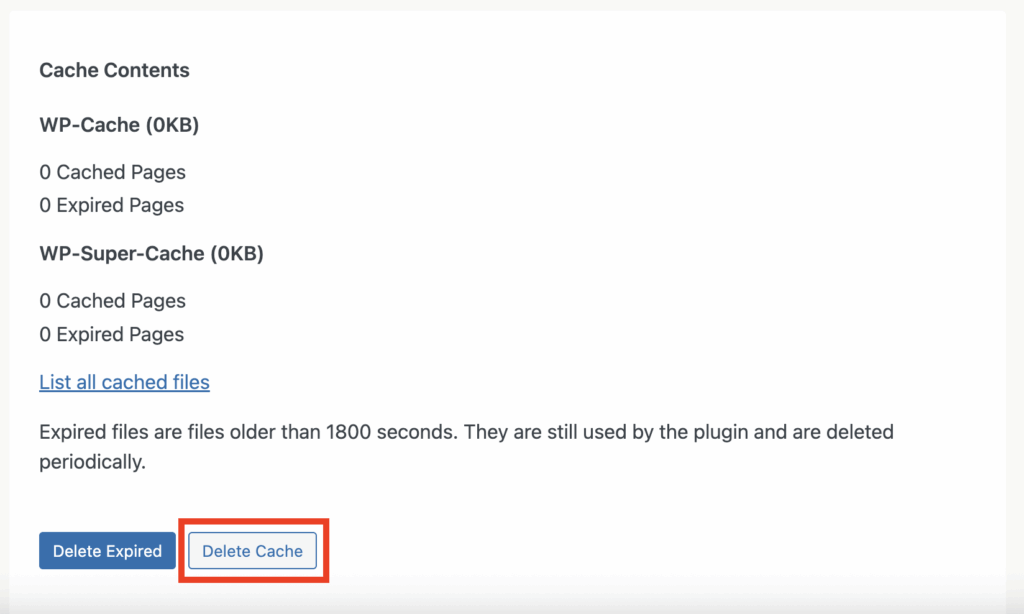
2. Click the Contents tab.
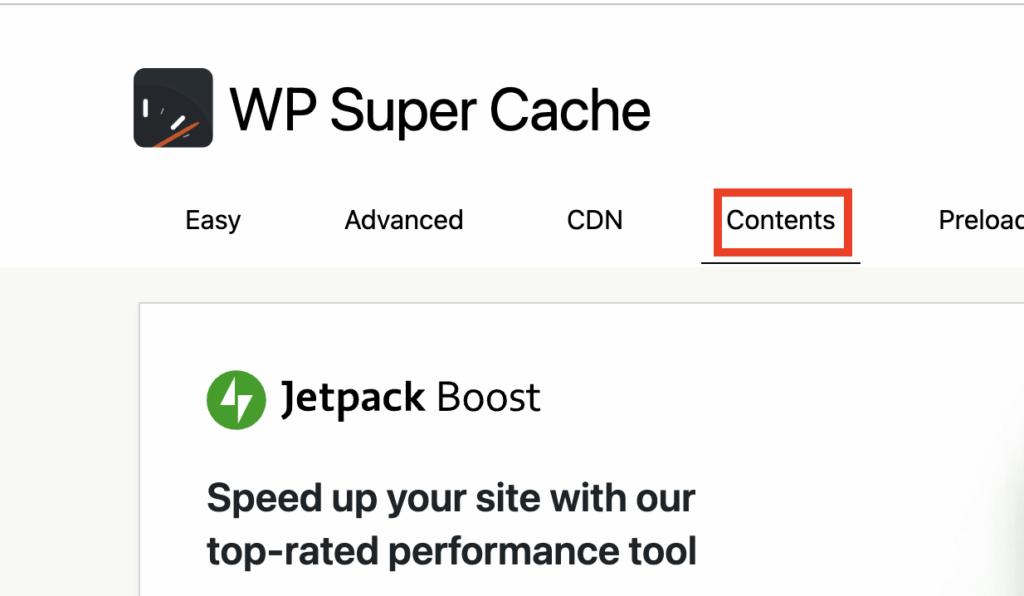
3. Then, click Delete Cache to remove all cached pages.
Conclusion
When you setup WP Super Cache correctly, your WordPress site becomes faster, more reliable, and ready to handle traffic spikes. Keeping your cache cleared and reviewing settings regularly will help you maintain top performance.
At WP Hosting, we recommend performance tools like WP Super Cache to help you get the most out of your hosting service. If you need assistance, our support team is ready to help.