This topic covers processes relating to a cPanel service.
You will need to be logged into the cPanel account to follow the steps.
If you’re not sure how to access your cPanel service — please, follow this guide before continuing: How do I Login to cPanel?
What is a subdomain?
A subdomain is an extension of your main domain that helps organise content and direct visitors to different sections of your website, such as shop.example.com or blog.mysite.com. In these examples, ‘shop’ and ‘blog’ are subdomains of the main domains example.com and mysite.com, respectively.
To create subdomains
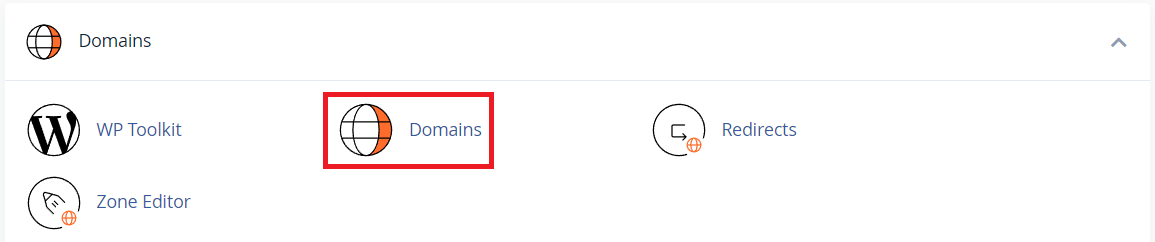
1. First, login to cPanel
2. Navigate to the ‘Domains’ tool
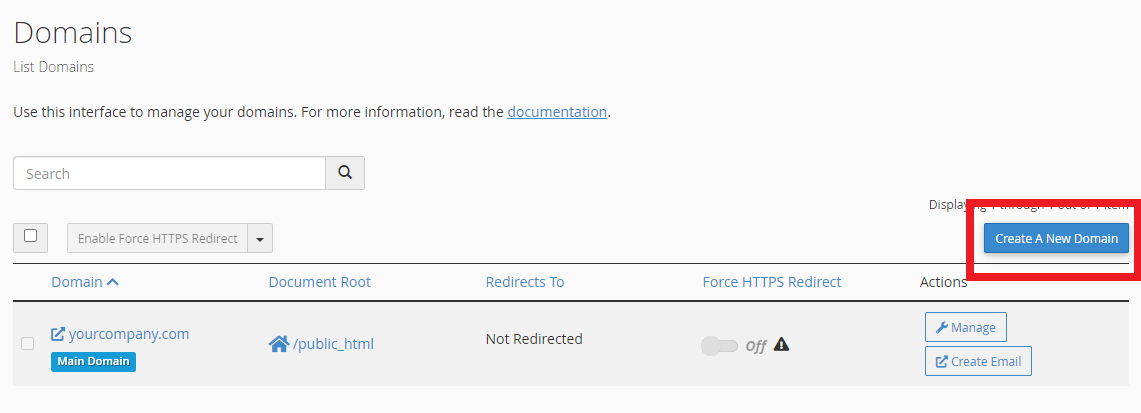
3. Next, click the ‘Create A New Domain‘ button
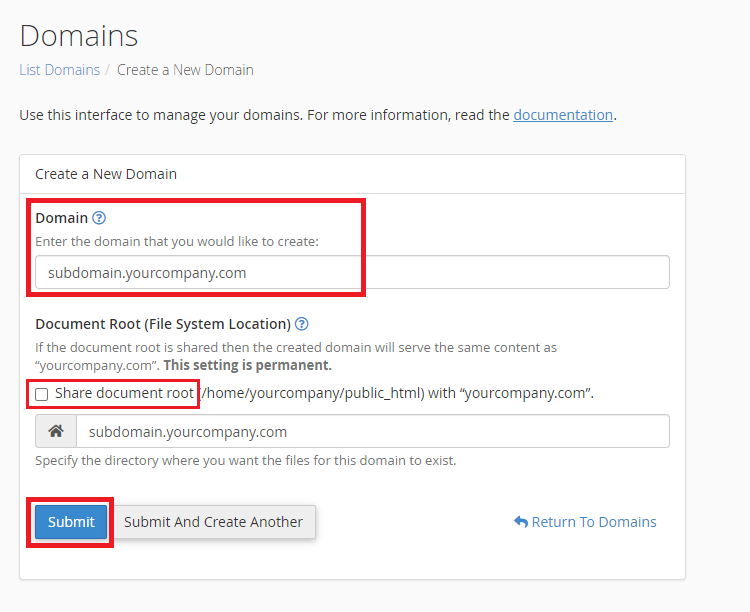
4. Enter your chosen subdomain in the ‘Domain‘ field along with your main domain separated by a full stop – e.g. subdomain.yourcompany.com, shop.example.com, blog.mysite.com.au etc.
5. Be sure to leave the ‘Share document root‘ option unchecked in order to create a separate directory/folder for the new subdomain.
6. Click ‘Submit‘ when you’re done
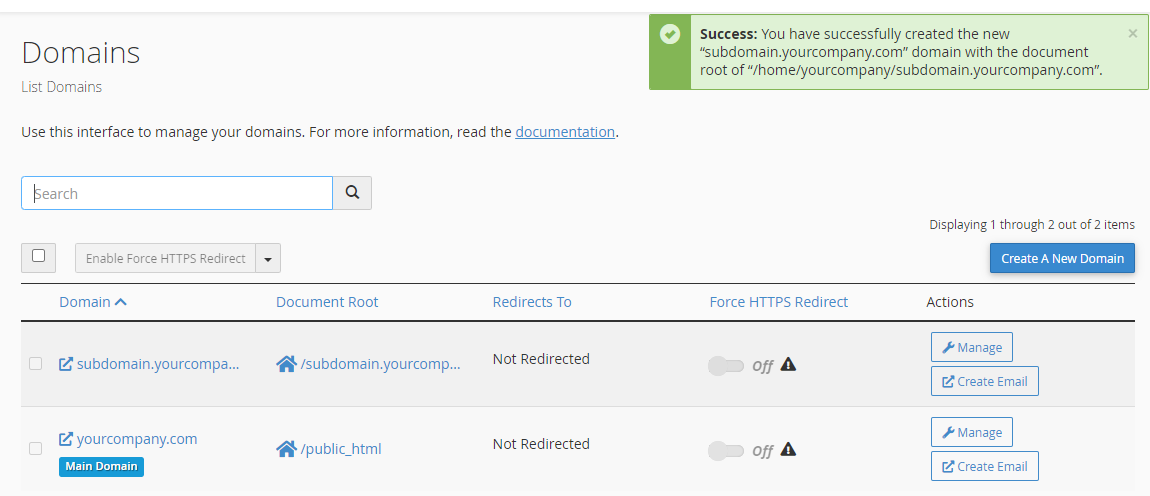
7. When the subdomain has been created, you’ll be taken to the ‘Domains’ page where you’ll see the list of domains including your new subdomain.
DNS records for subdomains created in cPanel will automatically have DNS configured to the default settings.
If you need to customise the subdomain’s DNS records, you can do this using the Zone Editor tool. You’ll find the subdomain records with the DNS for the main/root domain – e.g. yourcompany.com.
For additional steps for editing DNS records, please see our guide: Adding or modifying DNS records with cPanel’s “Zone Editor”.
A note for domains using external DNS services
PLEASE NOTE: If your domain’s DNS is managed externally, with Cloudflare for example, you will need to manually create A records for your subdomains there.