Please Note: This guide is specific to the WebMail / Roundcube interface for cPanel-hosted email accounts. If you use a 3rd party email app, such as Outlook or Mac Mail, you will need to configure any settings within that particular app.
When using WebMail or Roundcube to compose emails, you can add signature in WebMail so that your email signature automatically appears at the end of every outgoing message. This feature ensures that your communications maintain a consistent and professional appearance.
To configure an email signature within WebMail/Roundcube, please follow the steps below.
1. First, log in to your email Inbox via WebMail
2. Navigate to the ‘Settings‘ menu (gear/cog icon), located in the left menu
3. Then, go to ‘Identities‘
4. Next, click on the email identity (listed as John Doe in this example)
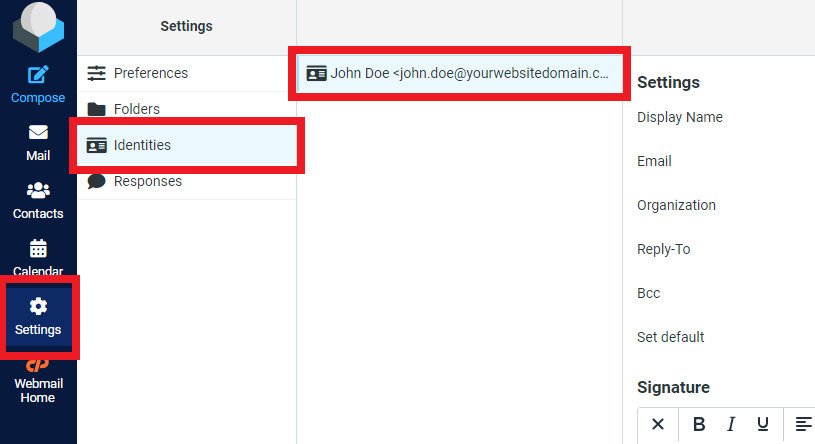
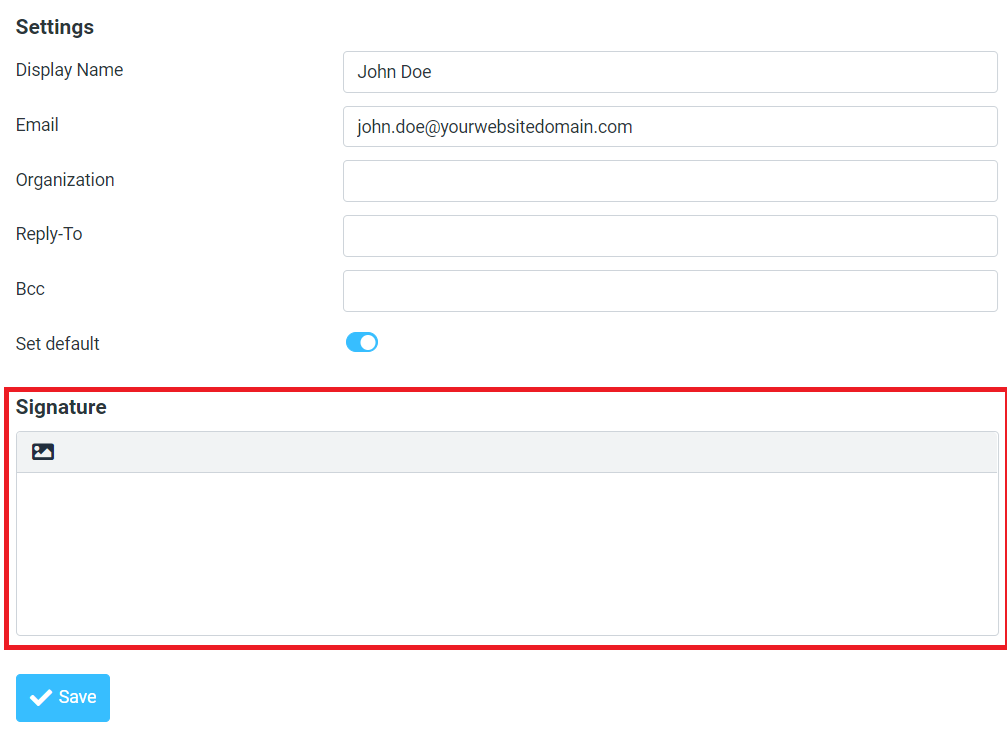
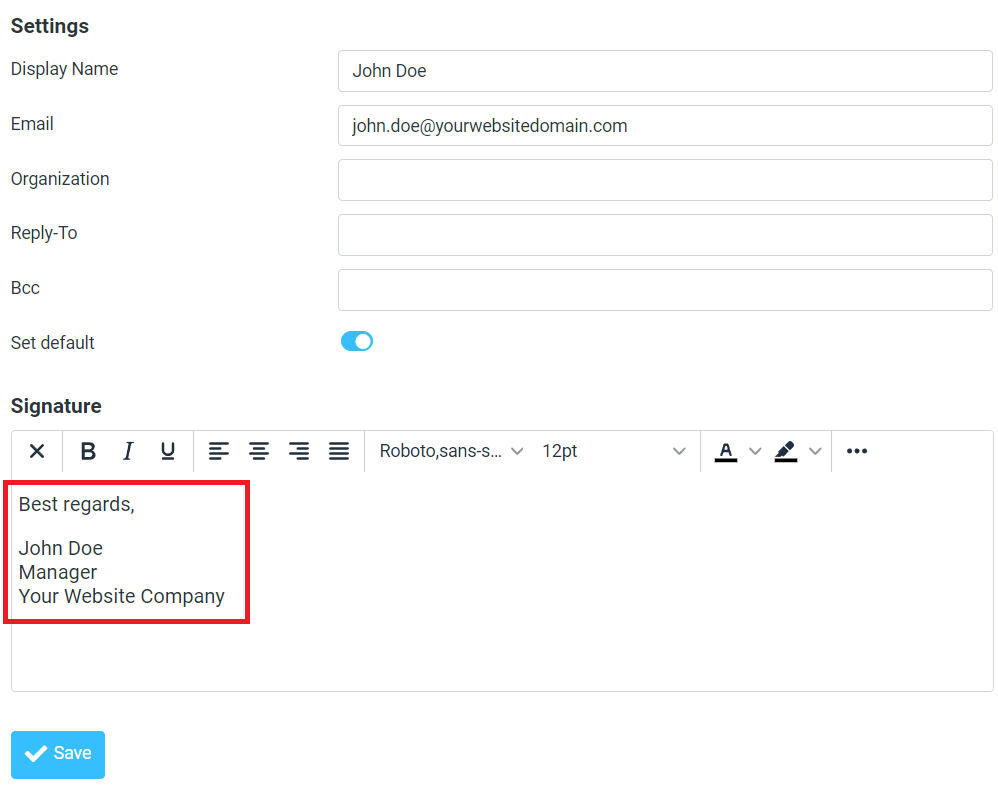
5. Within the identity settings, scroll down to the ‘Signature‘ section
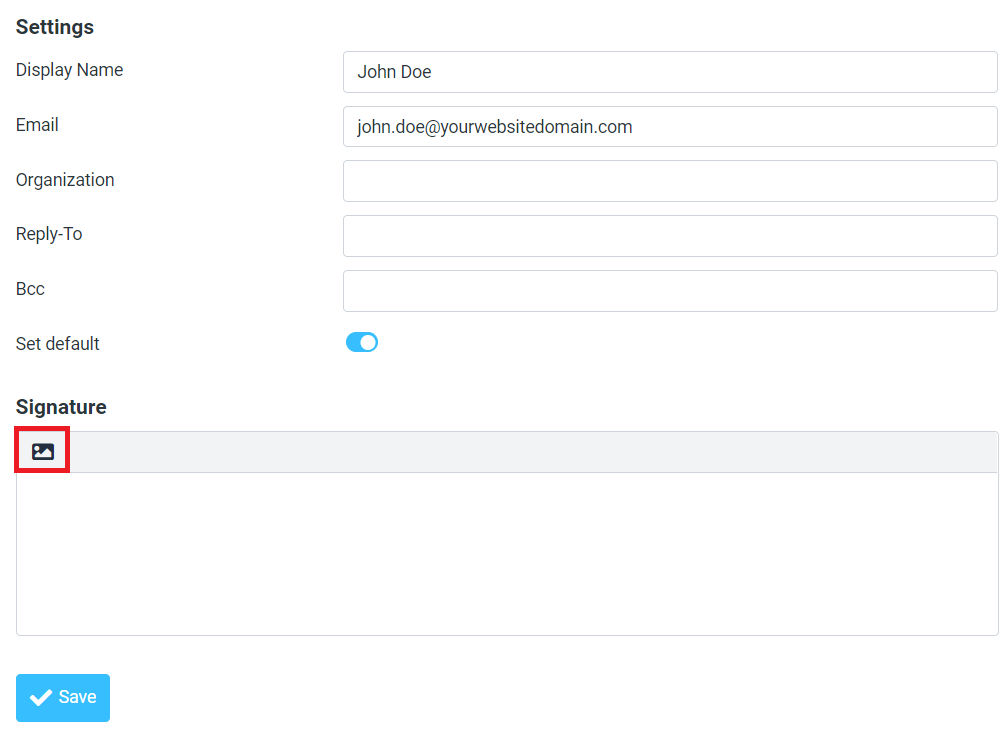
6. After that, click on the ‘image icon‘ to enable the signature tools.
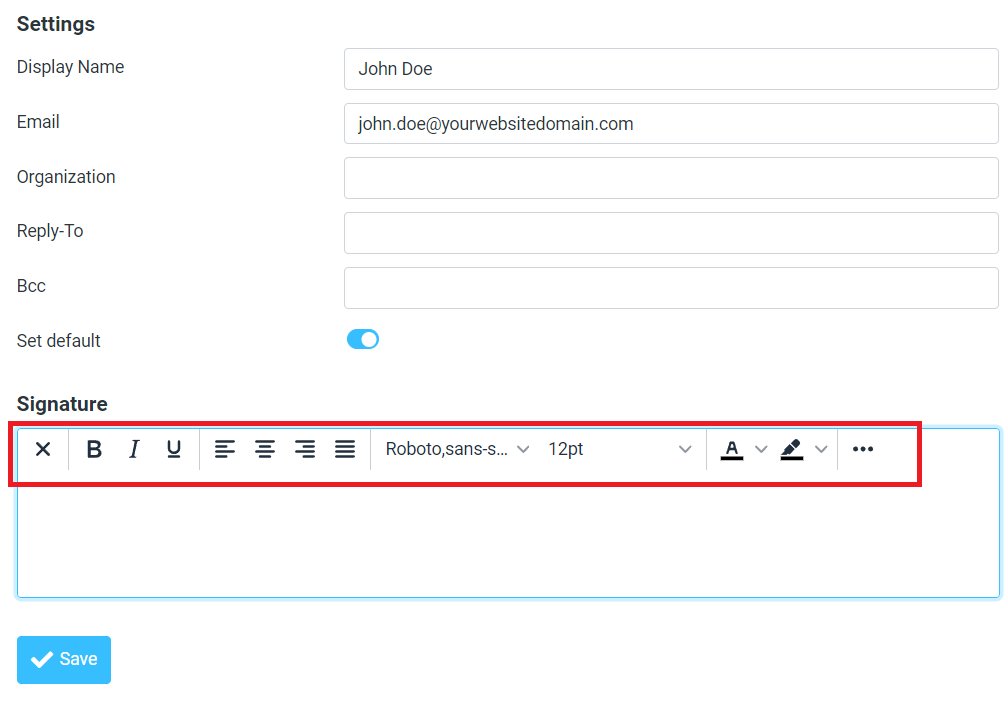
7. Then, enter your desired email signature in the text box provided. Include your name, job title, contact information, and any other details you want to appear in your signature.
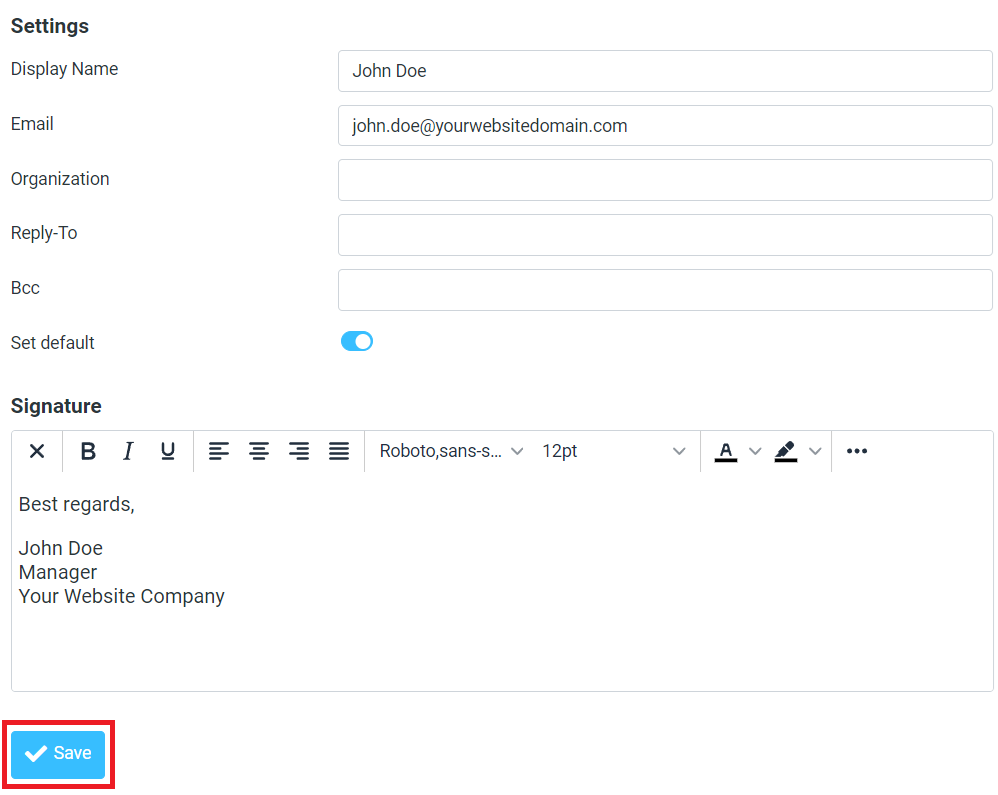
8. After you have entered your signature, scroll down to the bottom of the page. Then, finally click ‘Save‘ to confirm your changes.
9. Finally. the signature you configured will now automatically be appended to the end of your email content and added to all your outgoing messages, enhancing your professional email communications.
In conclusion, by following these steps to add signature in WebMail, you ensure every outgoing email carries your professional identity. This automated setup not only reinforces your personal branding but also saves time, allowing you to focus on what matters most—effective communication.